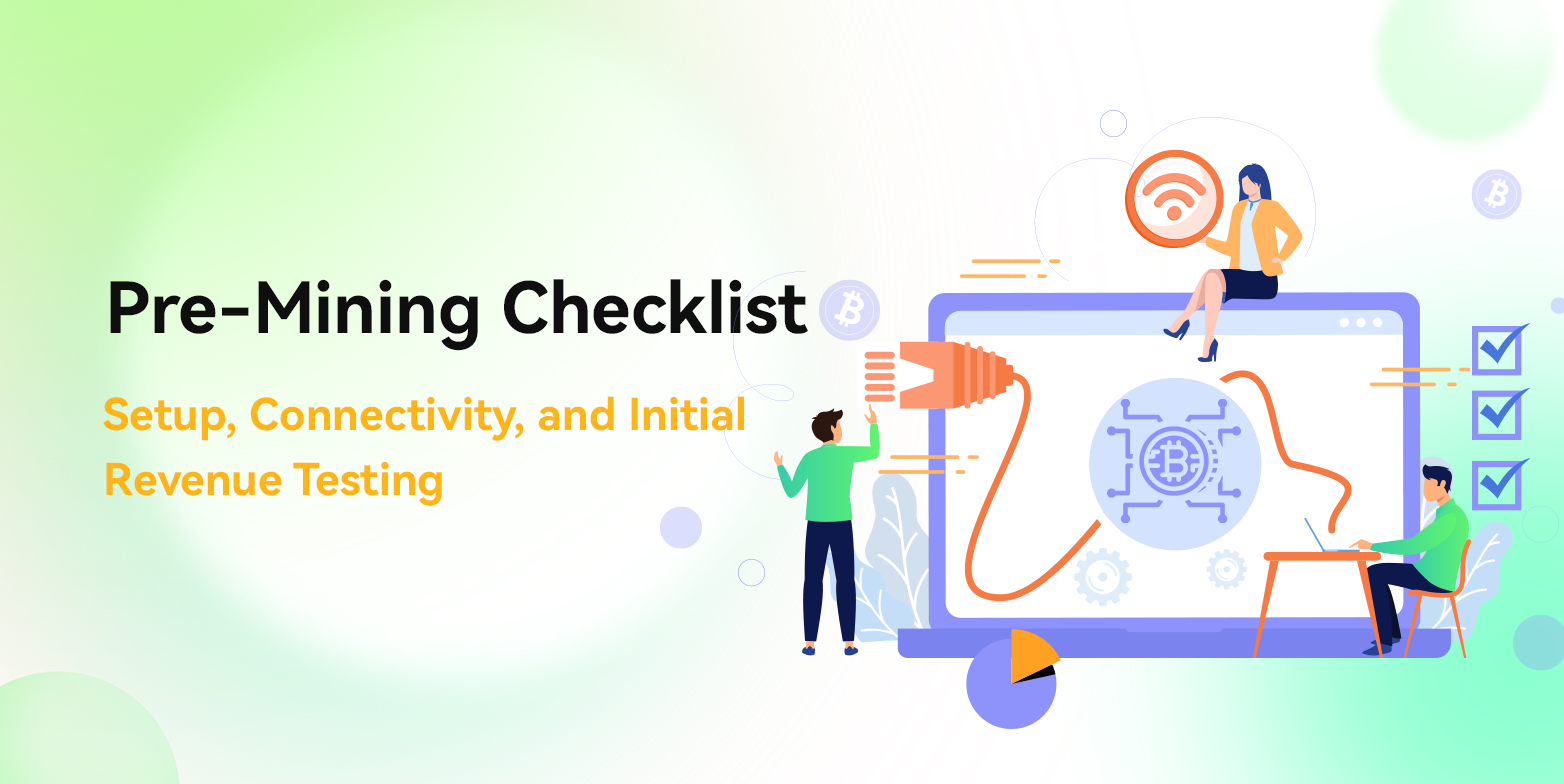
Pre-Mining Checklist: Setup, Connectivity, and Initial Revenue Testing
24.12.2025
This guide provides a clear three-step framework to help you correctly set up your miner, safely connect to a pool, and conduct your first revenue test, ensuring a smooth start to your mining journey.
You have your ASIC miner in hand—now, it’s time to put it to work. It is important to remember that mining is not a solo endeavor. To secure a stable income, you need to contribute your hashrate to a mining pool. However, before you flip the switch, there are several critical configurations and preparations to complete, ranging from wallet readiness and pool selection to hardware configuration. This guide provides a clear three-step framework to help you correctly set up your miner, safely connect to a pool, and conduct your first revenue test, ensuring a smooth start to your mining journey.
Why Modern Miners Must Join a Mining Pool
Many beginners wonder if they can simply connect their machine directly to the blockchain network to mine, a method known as "Solo Mining." While this might have been viable a decade ago, it has become an almost impossible task in today’s environment.
The primary reason to join a mining pool is to eliminate the massive uncertainty of returns. The blockchain network operates like a giant lottery that draws every few minutes. If your hashrate represents only a tiny fraction of the global total, you could mine for years without ever successfully "winning" a block. Joining a pool allows you to partner with thousands of other miners, creating a collective hashrate that discovers blocks frequently. This transforms a random, low-probability jackpot into a steady, daily paycheck based on your contribution.
Beyond financial stability, pools significantly lower the technical barriers to entry. Mining solo requires running a full blockchain node, which demands substantial disk space and high network bandwidth. A mining pool handles these complex technical requirements for you, allowing you to simply point your machine to their server while they manage task distribution, block synchronization, and revenue settlement.
Furthermore, pools offer essential flexibility. Most modern pools support multiple cryptocurrencies, allowing you to switch between coins like Litecoin or Dogecoin through a simple dashboard setting if market profitability shifts, without needing to rebuild your underlying infrastructure.
Step 1: Preparing Your Digital Wallet
Your wallet is the destination for your mining rewards, and for a newcomer, the guiding principle should be "security first and address alignment." Different cryptocurrencies utilize distinct address formats; for instance, a Bitcoin (BTC) address typically starts with 1, 3, or bc1, whereas Litecoin addresses follow a completely different structure. It is critical never to use a Bitcoin address to receive rewards from another chain, as mismatched addresses will result in a permanent loss of funds.
Choosing the right wallet type depends on your specific needs. Exchange wallets are the most accessible for beginners, allowing you to find a deposit address directly on a major platform and sell your coins for cash immediately. Decentralized or "hot" wallets offer more security by giving you control over your private keys, though they require careful management of recovery phrases. For those operating at a larger scale, professional hardware wallets like Ledger or Trezor provide the highest level of protection by physically isolating your keys from network risks.
Once you have chosen your wallet, always verify the receiving address by double-checking the first and last characters to prevent "clipboard hijacking" by malware. Additionally, take note of the pool’s minimum payout threshold. Pools only transfer funds once your balance reaches a certain cumulative amount, which you can typically adjust in the back-end settings.
Step 2: Pool Selection and Connection Configuration
With your wallet address ready, you must select a "worksite" for your miner.
As discussed previously, PPS+ and FPPS are industry-standard mining pool payout models for miners seeking maximum revenue stability. If your operation is small, pay close attention to the minimum payout limit, as some pools require a significant accumulation before releasing funds. It is also wise to choose a pool with an access point near your physical location; lower network latency, or "ping," reduces stale shares and ensures your revenue is as precise as possible.
After selecting your pool, you will find several "Stratum" addresses in their help center or setup page. These are the lines of code that tell your miner where to send its work. You should copy the primary and backup addresses to ensure your machine stays online if one server fails.
You will also need to establish a Worker Name, which acts as a label for your machine within the pool. This is usually formatted as your wallet address followed by a miner ID. Numbering your machines (e.g., SEALMINER001, SEALMINER002) makes it easy to monitor each unit’s status via a mobile app and quickly identify when a specific miner goes offline.
Step 3: Hardware Configuration and Initial Testing
With all your information gathered, you are ready for the most exciting part: bringing your miner online. Once you have plugged in the Ethernet cable and connected the power, the ASIC miner’s fans will immediately spin up at a high speed; this is a standard self-test and nothing to be alarmed by. Because these machines do not have built-in displays, you will need to identify the miner’s current IP address—such as 192.168.1.15—using either an IP discovery tool provided by the manufacturer or by checking your router’s administrative back-end.
Once you have the IP address, enter it into a web browser on your computer to access the management dashboard, using the default credentials found in your manual. Navigate to the "Miner Configuration" page, where you will find fields for primary and backup pools. Here, you should input the Stratum addresses you copied earlier into all three pool slots—Pool 1, Pool 2, and Pool 3—to ensure the machine can automatically failover if the primary server goes down. In the "Worker" field, enter your unique worker name, typically formatted as your wallet address followed by a miner ID. The password field can generally be left as "123" or empty, as most pools do not require strict validation for this.
The final step is to click "Save & Apply," which prompts the miner to restart its calculation program. This initialization process usually takes five to ten minutes. You can monitor the progress on the "Miner Status" page; once you see the hashrate climb from zero and stabilize at the machine’s rated capacity—for instance, 260T—your hardware is running correctly. After about fifteen minutes, log in to your mining pool’s web dashboard and refresh the user panel. If your worker name appears in the list with an active hashrate curve, congratulations—your first mining revenue is officially being generated.
Pro-Tips for the New Miner
During the first hour of operation, check the exhaust to ensure the air is not excessively hot. ASIC miners are highly sensitive to temperature, so it is vital that the intake pulls in cool air and the exhaust remains unobstructed. If you are using premium hardware like a Sealminer, check periodically for official firmware updates, which can often optimize chip efficiency to provide higher hashrate at the same power draw. Finally, remember that miners thrive on consistency. Once your setup is optimized, let it run 24/7 like any other essential appliance; frequent power cycling can significantly shorten the lifespan of the chips.
Mining is a marathon, not a sprint. By completing these three essential steps, you have officially transitioned from being a spectator to a vital maintainer of the blockchain network. Visit the Bitdeer Learning Hub for more advanced mining tutorials. Bitdeer also provides you with comprehensive technical support ranging from mining hardware to management software.
*Information provided in this article is for general information and reference only and does not constitute nor is intended to be construed as any advertisement, professional advice, offer, solicitation, or recommendation to deal in any product. No guarantee, representation, warranty or undertaking, express or implied, is made as to the fairness, accuracy, timeliness, completeness or correctness of any information, or the future returns, performance or outcome of any product. Bitdeer expressly excludes any and all liability (to the extent permitted by applicable law) in respect of the information provided in this article, and in no event shall Bitdeer be liable to any person for any losses incurred or damages suffered as a result of any reliance on any information in this article.


© 2026 Bitdeer. Todos los derechos reservados